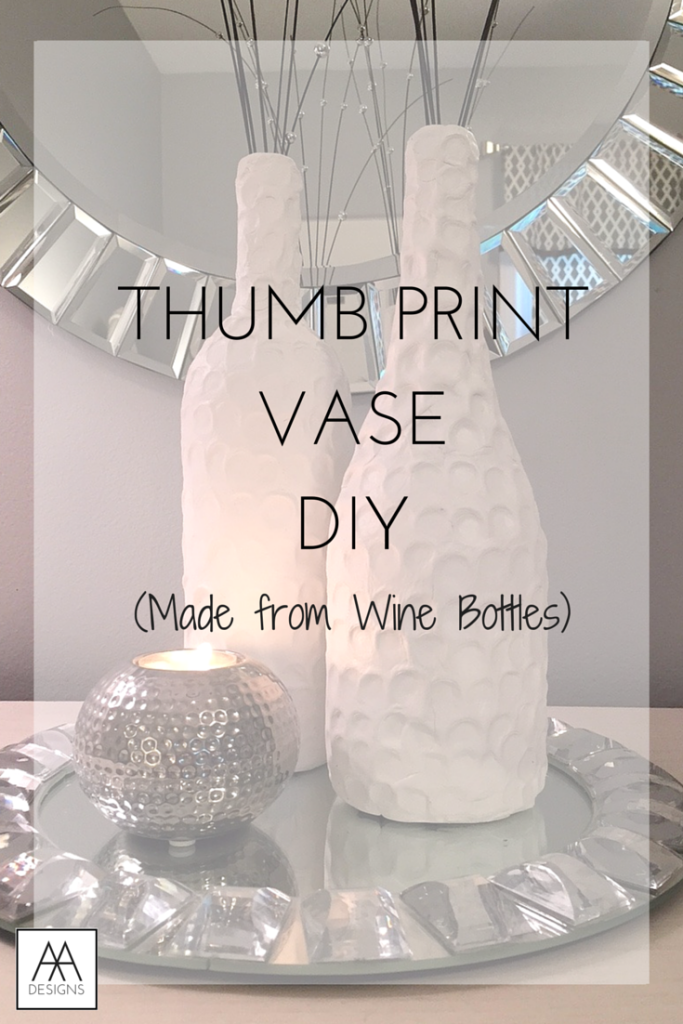
Hello everyone! It's been a while since I have posted a DIY. I have been busy creating drawings and paintings, but I haven't actually made a "craft" in a while that I could share with you.
I wanted to create a bottle that had an all-year round design, texture, and that was sculptural. So I have created a vase that I have wrapped in Air-Dry Clay that I purchased from Michaels with a coupon. Woot woot!

For this Tutorial you will Need:
- A Wine Bottle or Canister of your Choice
- Air Dry Clay (I used White so I could spray paint it if I wanted to)
- A rolling Pin
- Exact-o Knife
- Thumbs ;)
Step-by-Step Tutorial
Step 1: Select bottle
Step 2: Clean Bottles and take off labels with Hot soapy water
Step 3: Roll out Air-dry clay into a big rectangle (easier to work with). Roll out thin
Step 4: Wrap clay covering as much of the bottle as possible
Step 5: Cut off Excess clay with Exact-o Knife
Step 6: Use Excess clay to cover top of bottle
Step 7: Blend in creases with your fingers the best you can by using a rubbing or patting motion. I also rolled it on the table to even out the clay.
Step 8: Take your thumb and apply pressure to the clay to make rows of thumb prints starting at the bottom until you reach the top.
Step 9: Let clay air-dry for 24-48 hours (varies upon thickness)
Step 10: Spray paint bottle in the color of your choice and/or add branches/flowers for decoration
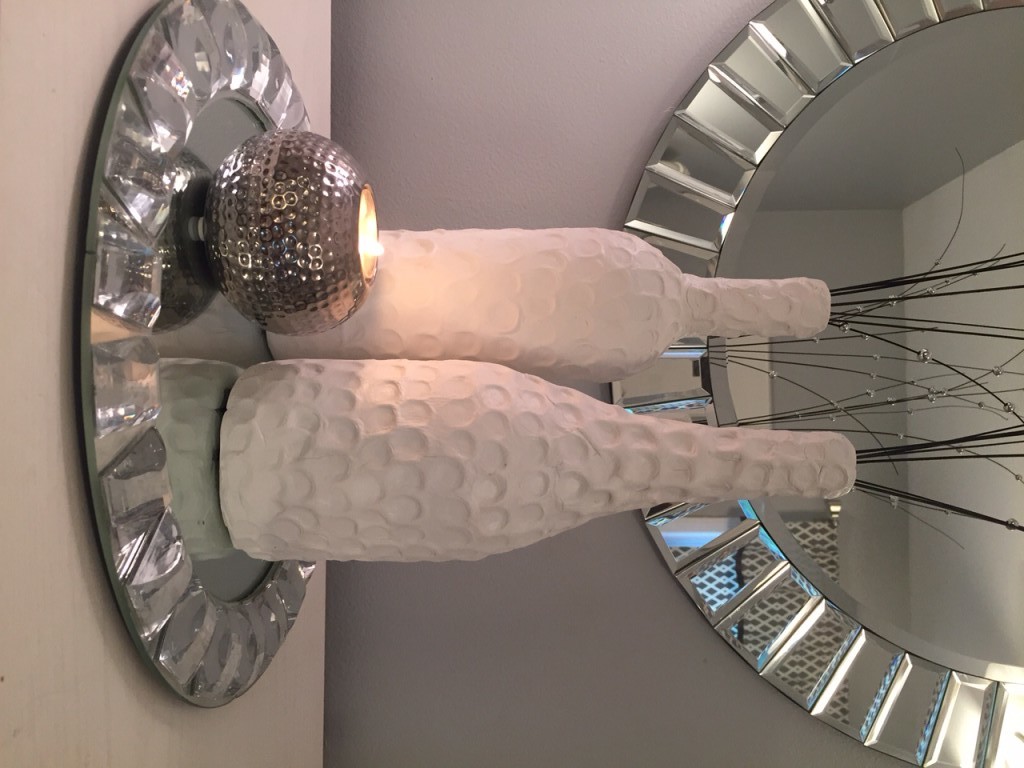
Here is the finished result!
Want more design tips? Join "The Designed Life" monthly e-magazine, filled with tons of inspiration for the home and life. Also, receive a free Home Design Checklist to make your next shopping trip for your home easier.

